- Made by: Joe
- Status: Finished
- Tools used: Horizontal bandsaw, angle grinder, MIG welder.
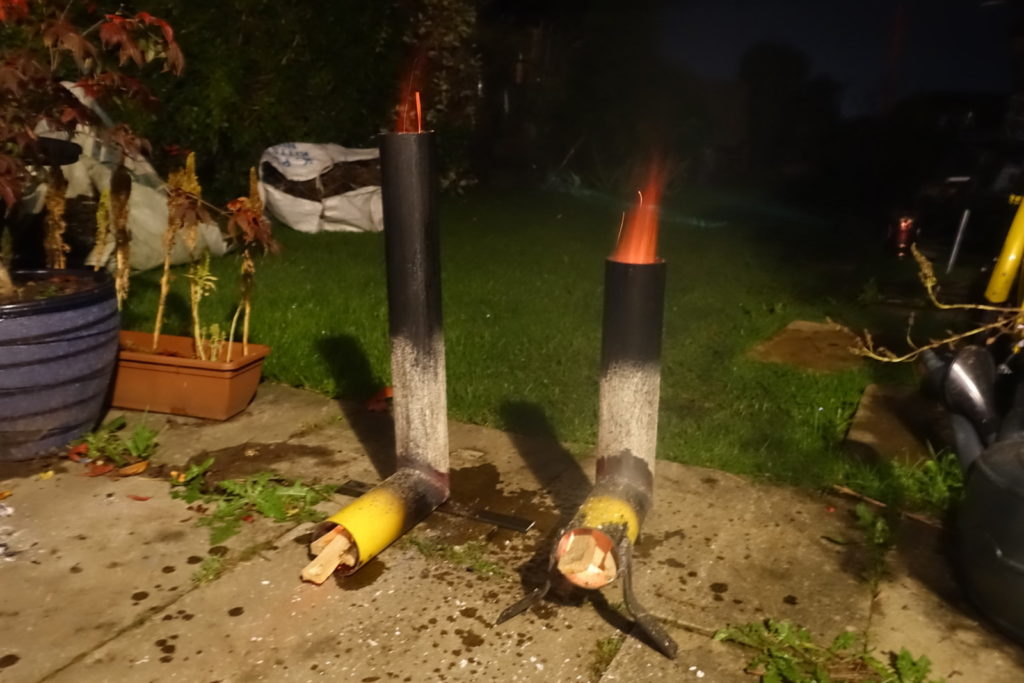
A rocket stove is a stove that uses small diameter wood as fuel, and burns incredibly efficiently without smoke. Primarily used in India and Sub-Saharan Africa due to the reduction in wood required, they also make great stoves for camping, or for burning garden waste.
My dad had some scrap steel tube, and as a gardener has an endless supply of twigs, sticks and small branches to get rid of. After trying previously to cut a right angle with an angle grinder, by hand (with predictable results…), we decided to do it properly and use the tools at the Makerspace.
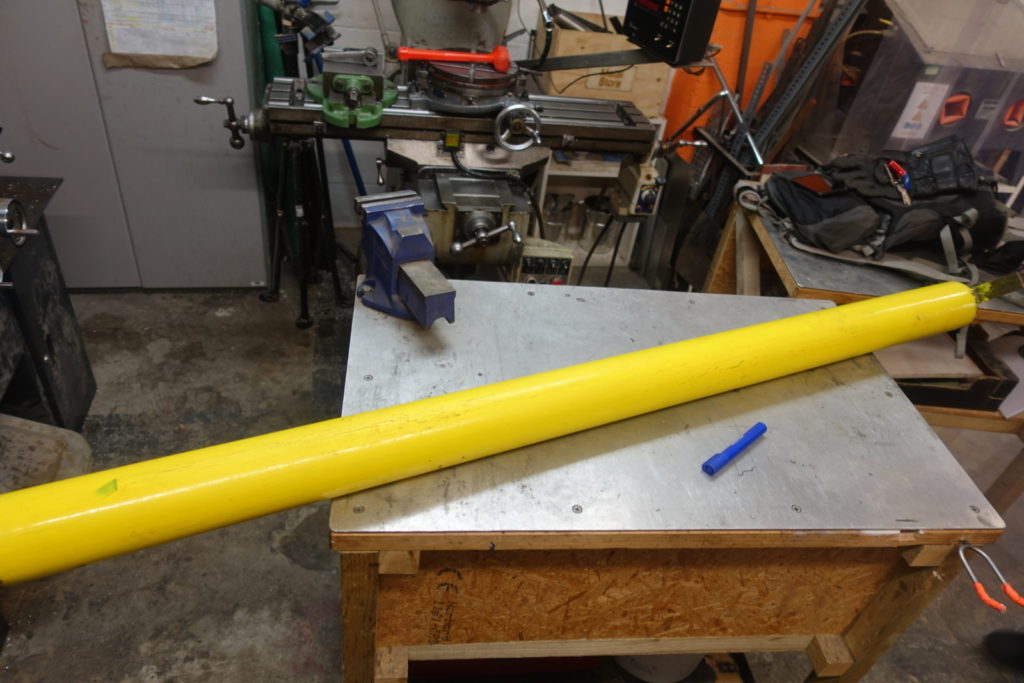
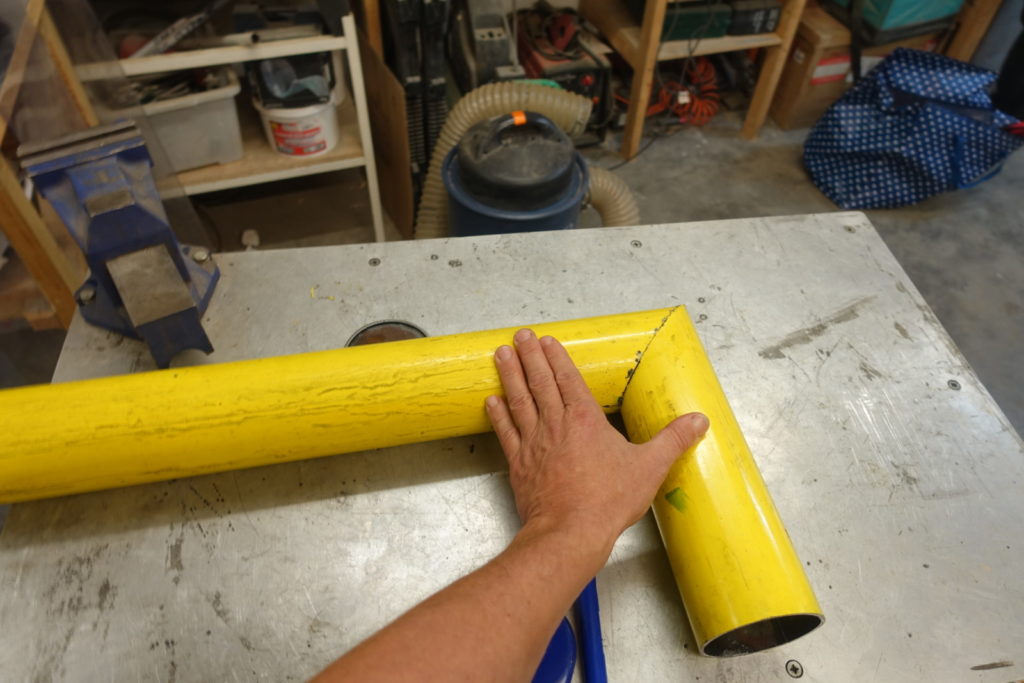
To start with we measured the length of the tube, and worked out how big we wanted our stove to be. For some reason there’s basically no information online on the proportions required for a rocket stove, so we went with a 600mm chimney and a 200mm horizontal piece, which left enough scrap material to make a smaller stove too.
The next step was to turn the tube into a tube, as one end had an endcap welded on, and the other a bracket. To do this we used the horizontal bandsaw to cut the ends off the tube.
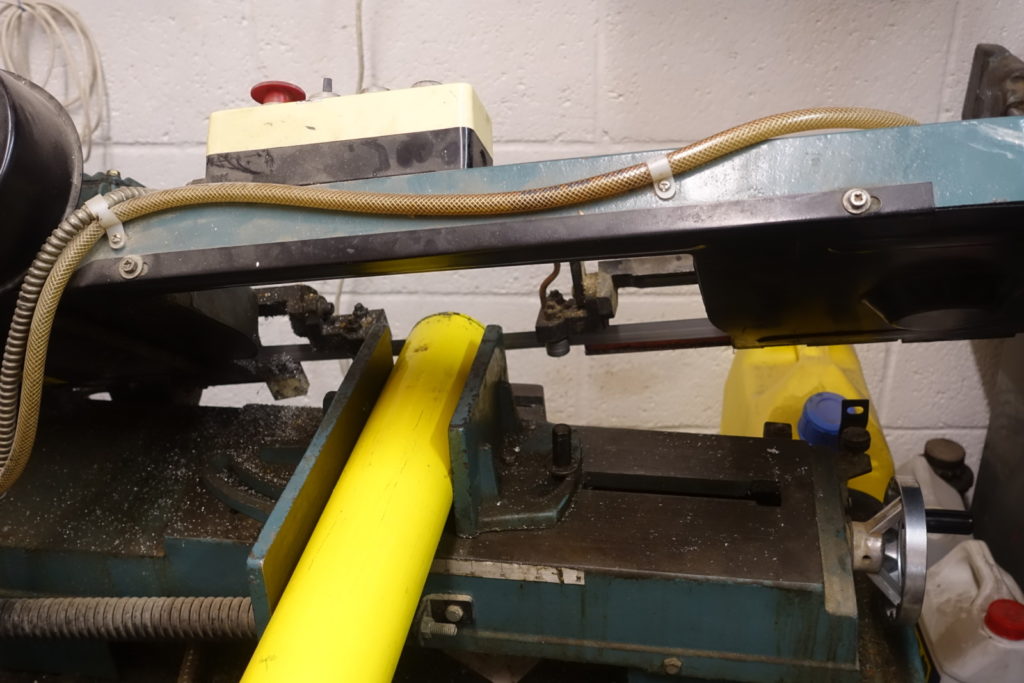
Once we had a tube, it was time to cut the mitre for the right angle joint. By loosening the bolts on the vice in the bandsaw, rotating it until the indicator reads 45 degrees, pushing the jaws together and tightening the bolts, the vice can be pivoted to cut a 45 degree angle. We measured and marked the tube, and put it in the saw to cut.
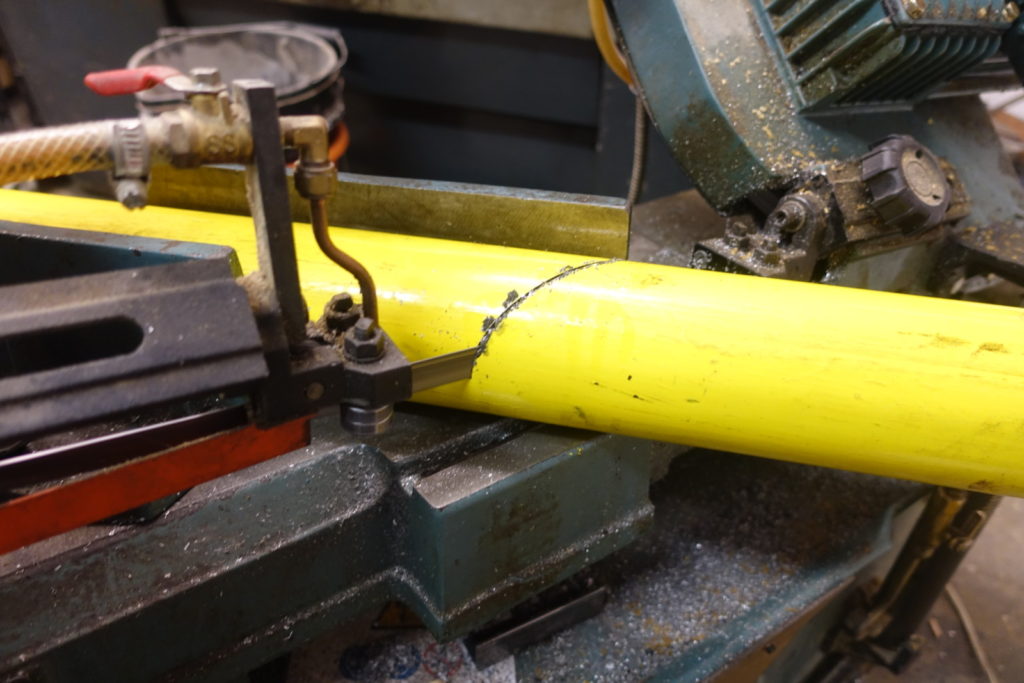
With the cut done, we straight cut the other end of the tube, giving us the perfect right angle arrangement we required!
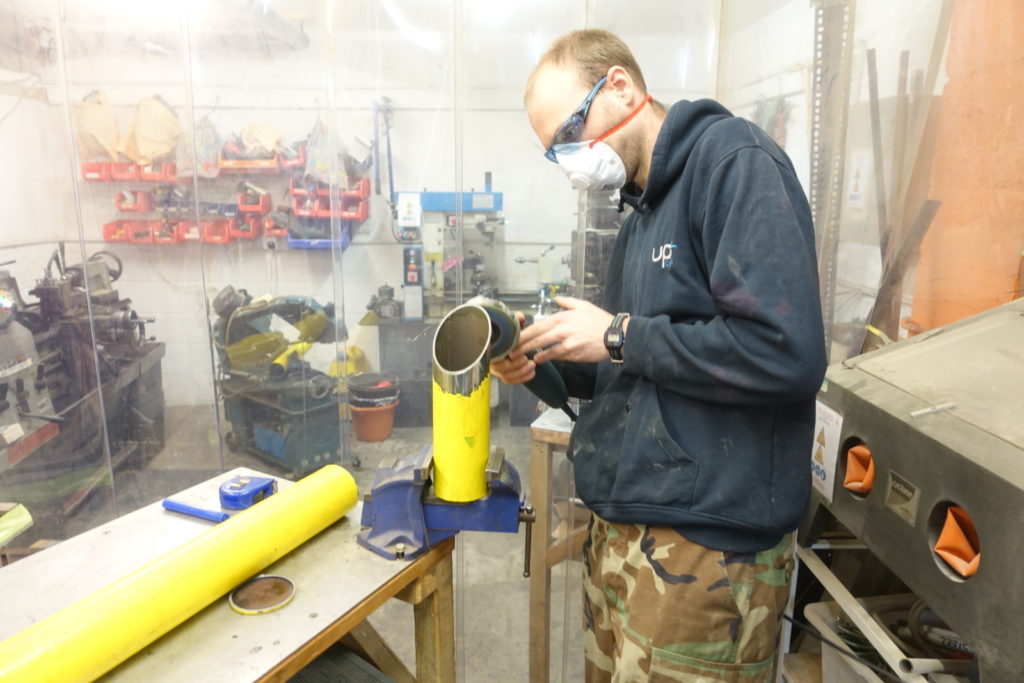
We repeated the mitre cut for the smaller stove built from the scrap, and then it was time to prep for welding. The edges of the mitre cuts were stripped of paint using a flap disk in the angle grinder, to a distance of about 40-50mm from the cut. This gives a clean, uncontaminated surface to weld together, and also stops the paint from burning – this yellow paint produces horrible noxious yellow fumes when it burns!
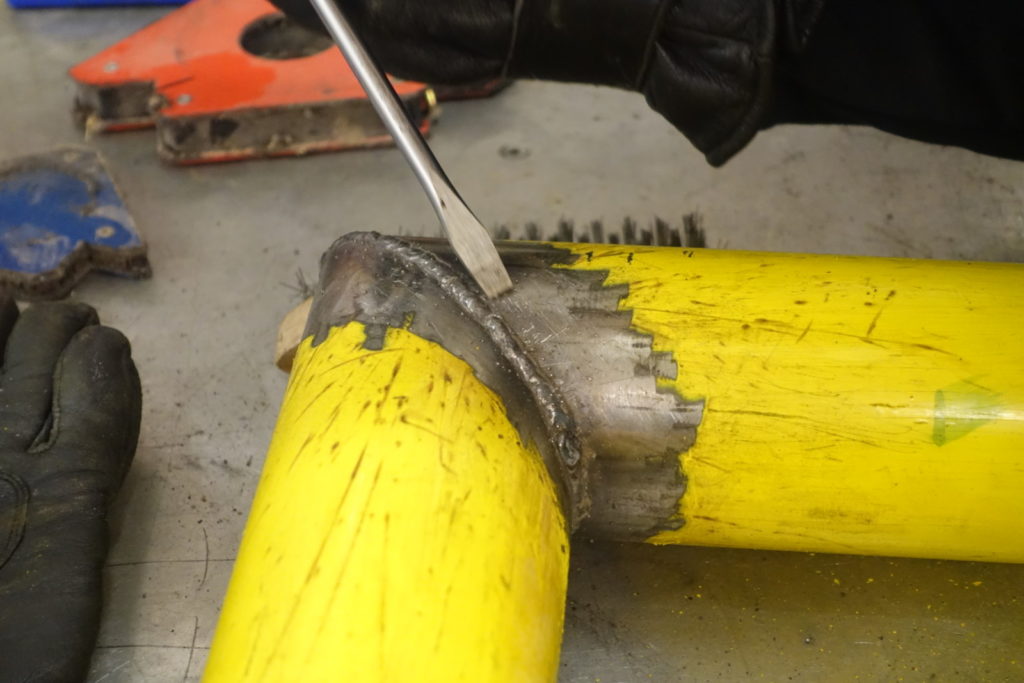
Once both tubes were stripped of paint it was time to weld. The tubes were held to the bench using a combination of clamps and magnets, and tack welded to keep them together. One held together the clamps could be removed and a continuous bead welded round the join. This was made considerably easier than previous attempts as the clean cuts meant there were no gaps to fill!

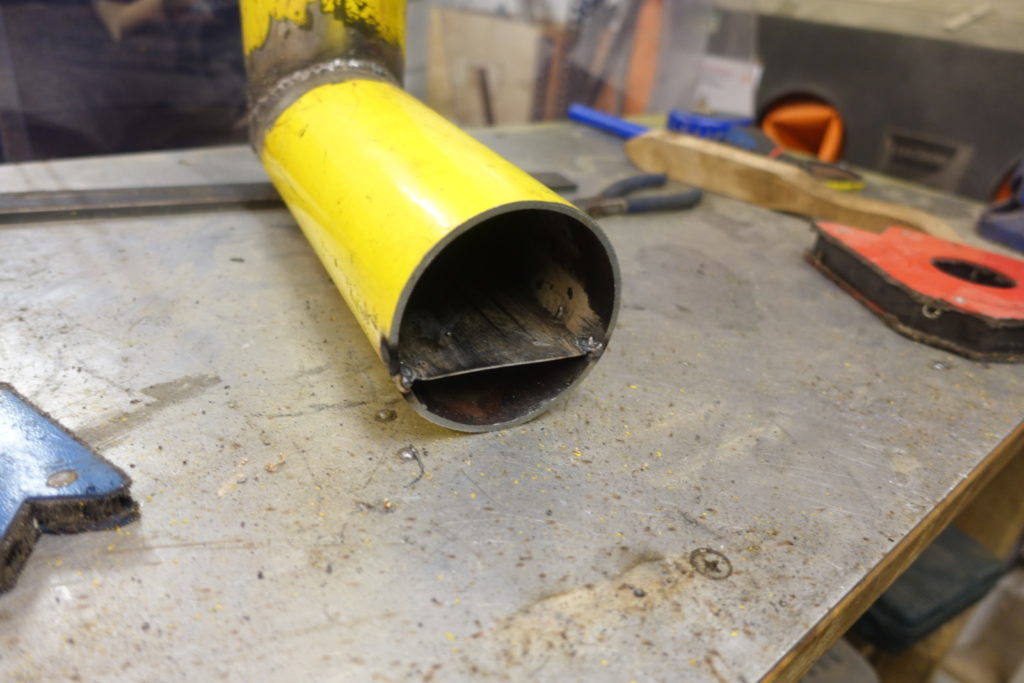
A foot was then added to the base to allow the stove to stand upright, and a tongue inside the tube. The tongue allows unrestricted airflow under the wood for a cleaner, hotter burn, which has the added effect of dramatically reducing the amount of ash produced meaning less cleaning while in use.
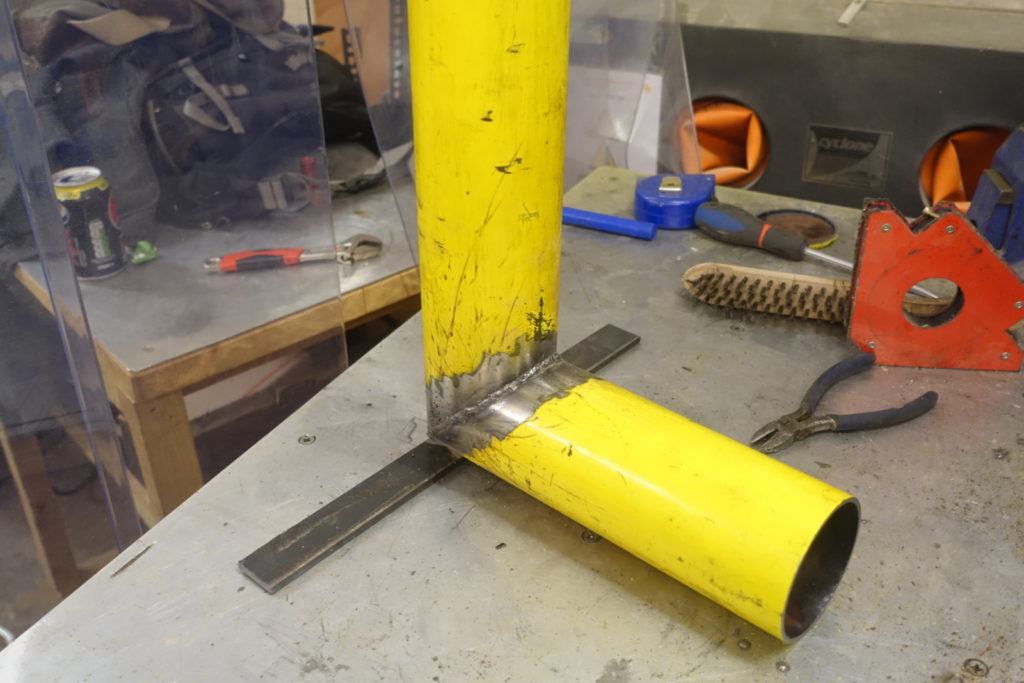
With that, that’s one completed rocket stove! We repeated all the previous grinding and welding steps, and on the smaller stove added taller legs to allow it to sit off the ground – this means it can be used places where scorching the grass is frowned upon.
In use, the longer stove draws harder and runs hotter, which is expected with the longer chimney. We’re thinking about drilling holes into the shorter chimney to maybe encourage more airflow. Future plans involve finding a way to use the stoves to cook, by putting a grille to stand a pot on top and putting the stove inside a barrel filled with vermiculite, to direct the heat upwards at the pot rather than outwards.