Aka: The Shiv of Self Love (The Wanky Wanky Shiv)
Stats
Made by: Josh and Steve
Status: Finished
Tools used: 3-in-1 lathe, TIG Welder
Description
Well it started as an oil change and before we knew it we were removing the apron from the Colchester Triumph 2000 lathe, but more on that later. In order to remove the apron we needed to take the lead screw and feed shafts off. Disconnected at the thread cutting gear box side all that was holding them in was a bracket on the right of the machine. In turn this is secured by two screws and two dowels.
The screws were easy enough to remove, the dowels less so. They are an interference fit but have a thread in the centre to which it is intended to connect to and using a slide hammer pull them out. So the simple plan was to insert a bolt and pull them out, trouble was a M4 bolt was too small and a M5 had the wrong thread. Then it dawned on us, imperial. Trouble was at this point we had half disassembled the lathe and realised that we had neither an imperial bolt of the correct size, nor a slide hammer. Looks like we were going to have to MacGyver our way out of this one…
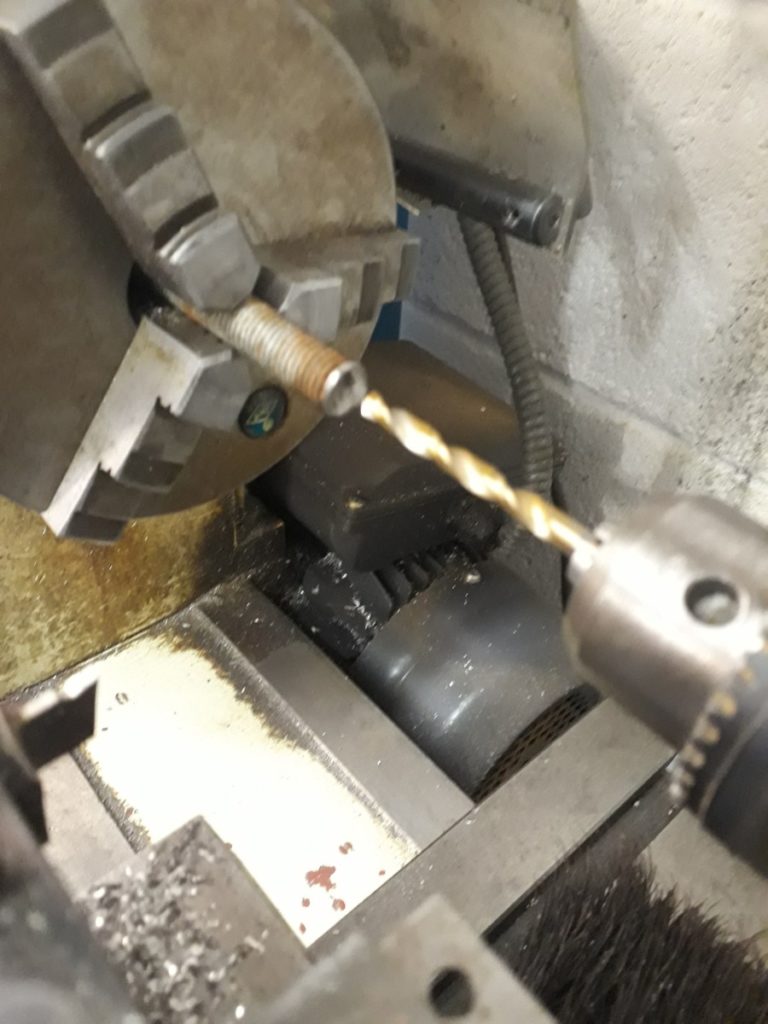
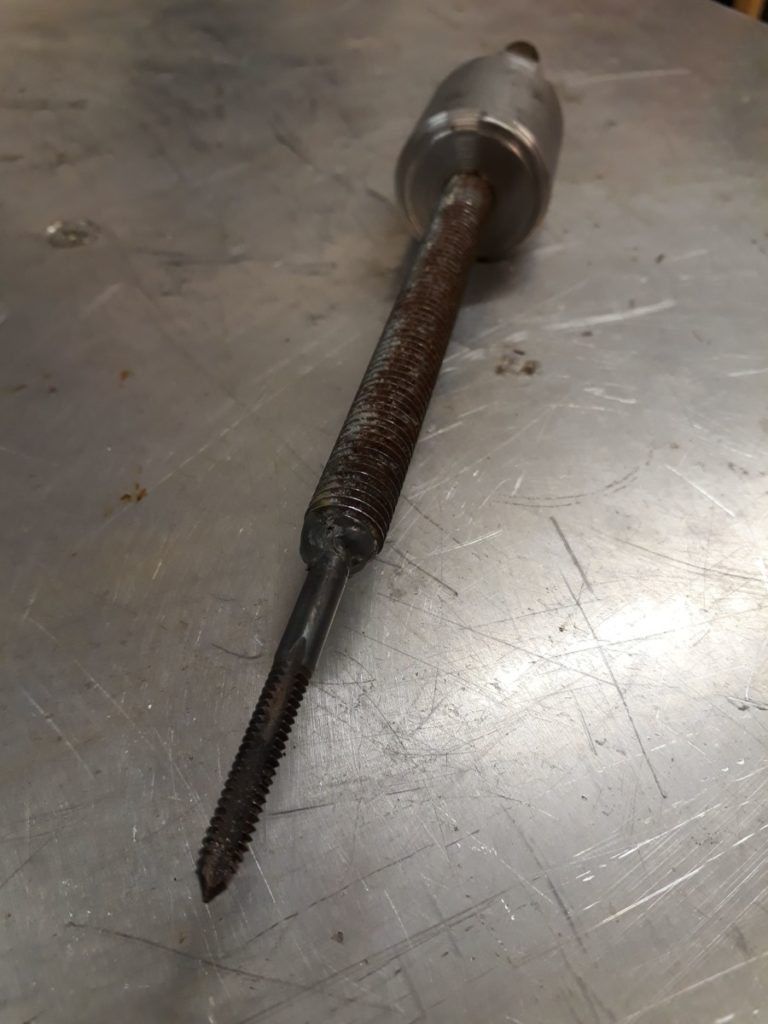
Welding the tap to the shaft
Sure enough after some trial and error we located a tap of the correct size and pitch (though we’ve forgotten to make a note of that size and we don’t have an imperial thread gauge). Now we had something to attach to the dowel we needed a slide hammer and this is where the threaded rod came into play. Manually cutting a shorter length of rod to use we took the rod to the 3-in-1 lathe and started with a centre drill before moving to a 5.5mm drill bit to 10mm depth at one end.
Drilling the bore of the side
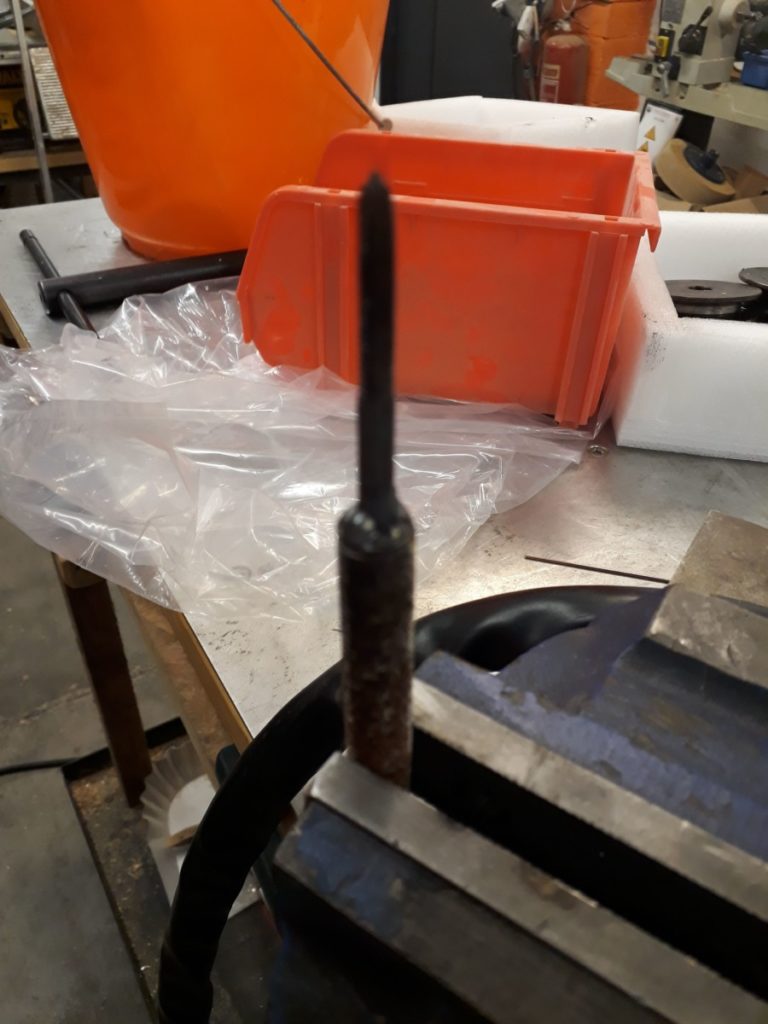
This little recess was now the correct size for the tap to sit in. But we needed to secure it so Josh broke out the TIG Welder and welded the tap to the rod. This formed the shaft of our slide hammer, and a nut was added to the non-tap end to act as the hammer stop. All we needed now was a slide.

Using the slide hammer to remove the dowels
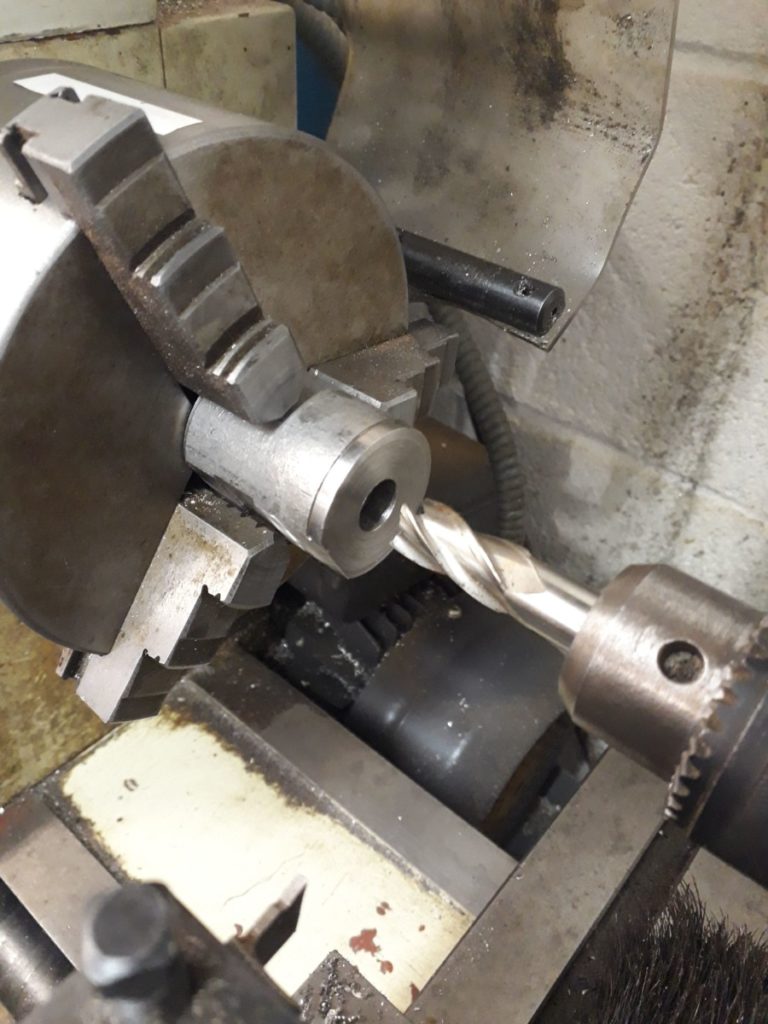
A quick raid of the metal stock found a small steel cylinder that had already been drilled through to around 6mm. However we needed a 12mm hole and this is where we hit another problem, the biggest drill bit we could locate was 10mm. Undeterred we embiggened the hole to 10mm on the 3-in-1 lathe. And then finally using a 12mm end mill the hole was taken to the correct diameter.
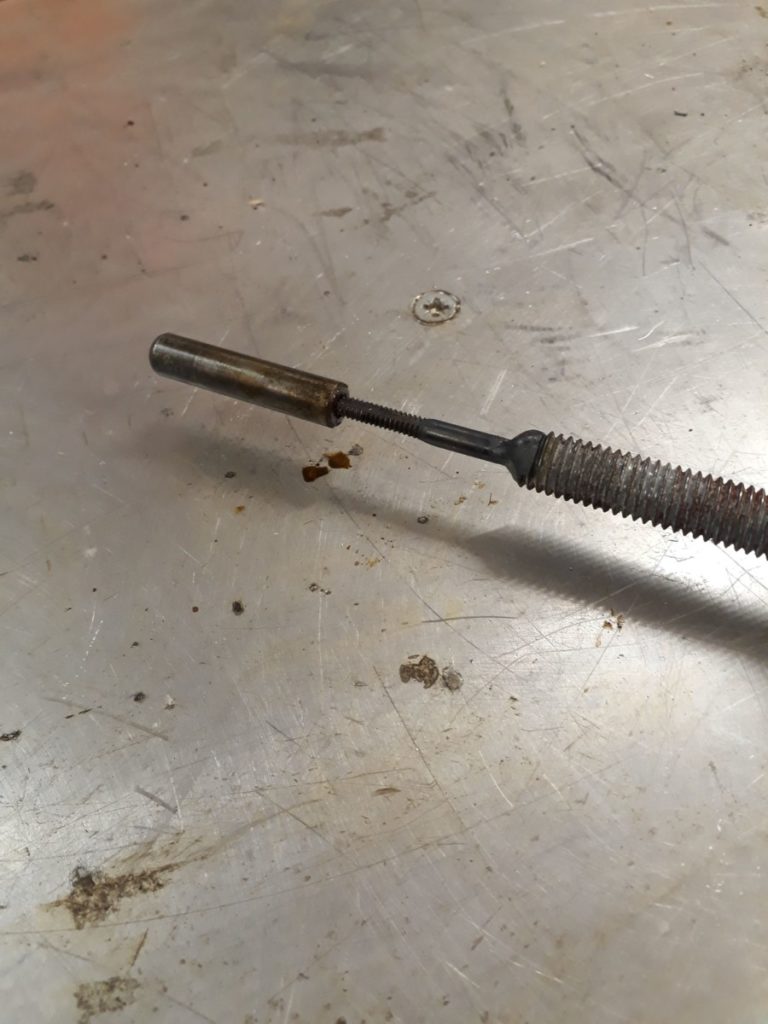
The removed dowel
Our slide hammer was now complete, so back to the Colchester it was. Tap end well inserted only a few hits were needed and the dowels were free. The bracket, shafts, and apron could then be removed
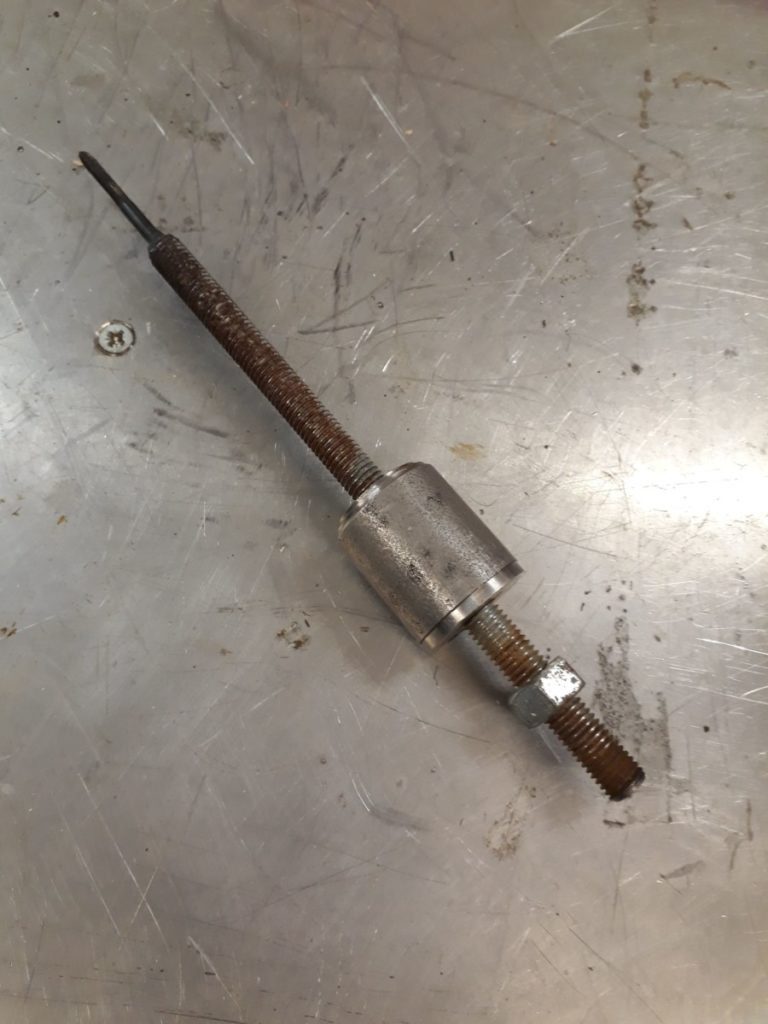
The slide hammer competed
Creation of the slide hammer was fairly straight forward and was made even easier with the two of us working together, Josh on the Welder, me on the 3-in-1 lathe. However, with a little more planning we might not have ended up needing to fabricate this tool. But it was a bit of fun to do and is a tool that will live with the Colchester in case we need to remove the shafts again which I hope we don’t.
This side hammer is awesome